How to contour for daytime: 8 easy looks that require no glam squad whatsoever
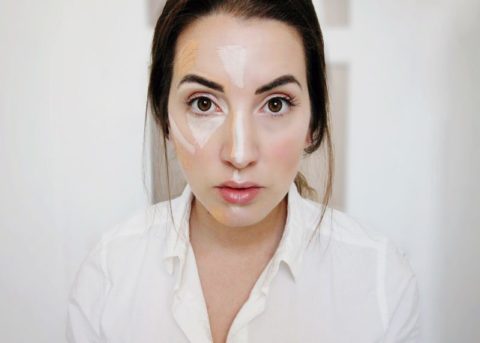

Contouring is nothing new and we’ve heard of every different way in which it can be done, but is it really as easy as YouTubers make it seem? It can appear daunting to anyone other than a Kardashian or a legit makeup artist. Multiple brushes, different coloured palettes; it’s a bit overwhelming but trust us it can be done and with much less effort (and frustration) than you think.
It’s important to decide how intense you want to go with your contoured look and then it’s really just about following the natural lines of your face and knowing which shades to put where. But before you start patting your brushes into every shade of brown, let our Beauty Panel walk you through how they achieve that chiseled makeup look with ease.
Challenge 102: Show us how you tackle the massively popular technique, whether you go all out (Kardashian-style) or prefer a more subtle look. See the answers now! »
Have a beauty question you want to see the panel answer? Send it our way at [email protected]. Read on for the answers to this week’s challenge and for more goodness, get to know all contributors on our Beauty Panel hub page.
Jump to: SAMANTHA JOHNSTON | KATIE ELWOOD | TESS LOPEZ | COLLEEN CONROY | ELLIE SOMFELEAN | AMY SURPHLIS |KIRA PARAN | JENN FONG
Samantha Johnston
Toronto | Samantha Johnston
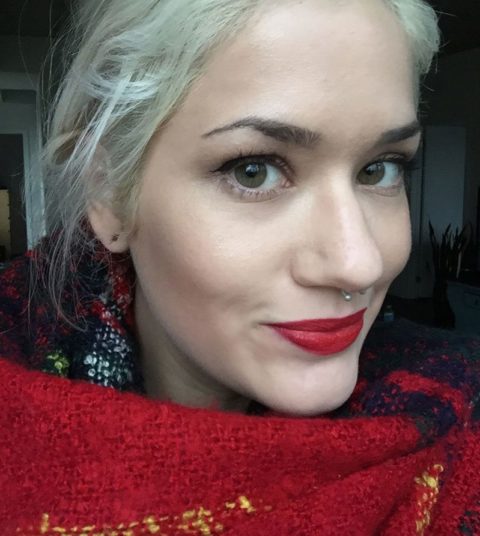
I don’t have a whole lot of time in the morning, so Kardashian-level kontouring isn’t my ball game. Instead, I stick with two products that get me chiseled cheekbones in under 5 minutes. I start off with a quick application of Yves Saint Laurent’s Le Teint Touche Eclat Foundation, applied with my MAC 130 duo fibre brush. Once I’ve got my base, I tap my angled Takara brush into the dark portion of my trusty NARS Contour compact, suck in my cheeks — probably the only time duck face is acceptable — and run the brush along the indent of my cheekbones, blending upward. A quick dusting under my jaw bone never hurts either. Now all I have to do is highlight! I’m a HUGE fan of Benefit’s Watt’s Up Highlighter stick. It is hands down the most flattering/ longest lasting/ most portable highlighter I’ve ever used. I run it under my eyes, along my cheeks and up into my brow bone. Watt’s Up is a cream to powder finish, so you don’t need to spend much time blending, if any. Perfect! Who knew you could get contoured so quickly?
Products Used: Yves Saint Laurent’s Le Teint Touche Eclat Foundation in BD20, NARS Contour Blush in Paloma, Benefit Watt’s Up! Highlighter Stick, Stila Stay All Day Liquid Liner in Jet Black, Benefit BADgal Mascara in Rich Black, MAC Lip Pencil in Cherry, Besame Lipstick in Red Hot Red.
Katie Elwood
Vancouver | Katie Elwood
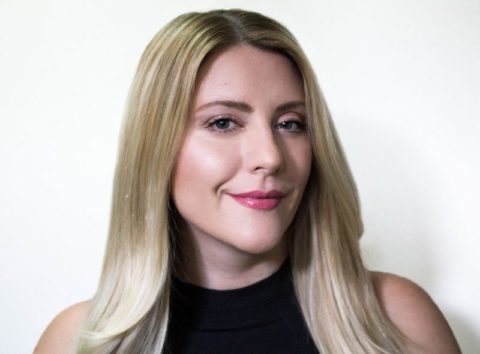
Now and then, I love a good sculpted makeup look, however my day-to-day look is slightly softer. I like to use cream products when contouring. I find them easier to blend and build, then intensify with powder which also helps to set and hold my makeup. Take a look below at my basic contour/highlight makeup routine.
Step 1: After applying skincare spritz Smashbox’s primer water on skin, follow with foundation and concealer. I mainly use my fingers to apply my foundation and then blend it out with the beauty blender.
Step 2: Using a matte taupe/brown shade, blend the cream along the jaw line and just below the cheek bones; then blend with the beauty blender up toward the ears. This sculpts the face without looking overly contoured. Next, take a cream highlighter and pat it on to the highest point of the cheekbones, along the bridge of the nose, onto the point of the chin and the cupid’s bow of lips.
Step 3: Using very little powder, lightly dust on a translucent powder along the t-zone to set cream products and to control shine.
Step 4: To add a bit more definition and help increase the hold of the makeup, layer powder over cream products. Use a tapered powder brush and pick up a small amount of product from the taupe or matte bronzer. Tap any excess powder off. Sweep the brush upwards along the hollows of the cheek. For a more defined jaw, dust bronzer just below the jaw line and down the neck. Just don’t over do it. A light application is best!
Products Used: Beauty Blender, Smashbox Primer Water, Giorgio Armani Maestro foundation, Giorgio Armani Fluid Sheer #2, Kevyn Aucoin The Creamy Glow Duo #4, MAC Cosmetics Taupe, Hourglass Ambient Lighting Palette Incandescent Light, Laura Mercier Translucent Powder.
Tess Lopez
Toronto | Makeup By Tess
Originally popular as theatre make-up, contouring has become admired by everyday make-up lovers the last few years. Do Kim Kardashian and YouTube play a huge part in this contouring craze? Probably. As a result, contouring is a beautiful step recently added to many people’s everyday make-up routine. It can come in different formulas: cream, liquid or powder and with one or two shades darker than your skin tone, it can add dimension back to your face.
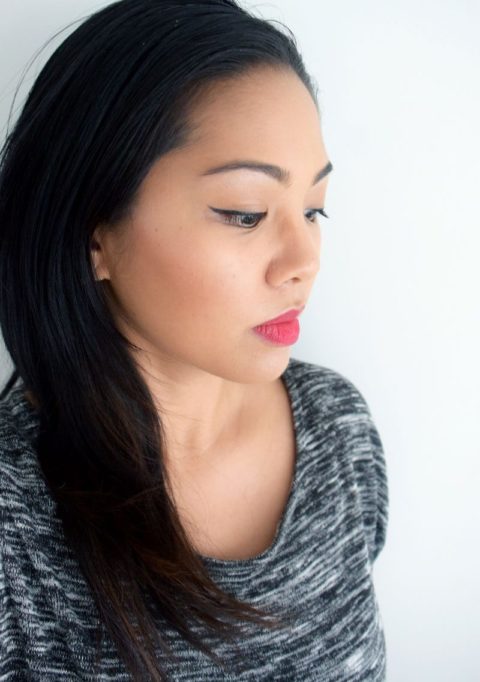
For a naturally subtle sculpted face, I like to use the powder formula. One of my favourites is Benefit Cosmetics, “Hoola”. With it’s matte finish and taupe shade, it softly recedes areas of the face I want to define, such as, my cheekbones and nose. Gently apply the contour powder to the hallows of the cheeks and the sides of the bridge of your nose. This creates shadows on your face.
When contouring, a rule of thumb is to follow-up with highlighting. I like to use Benefit Cosmetics, “Watt’s Up” highlighter which gives your skin a beautiful glow. Apply this to where the sun would naturally hit your face, such as, the high points of your cheeks and the top of the bridge of your nose.
With both contouring and highlighting, you have now achieved a naturally defined look. One more tip: remember to blend, blend, BLEND! You don’t want to see any harsh lines!
Products used: Benefit Cosmetics Powder in Hoola, Benefit Cosmetics highlighter in Watt’s Up.
Colleen Conroy
Vancouver | Blush Rouge
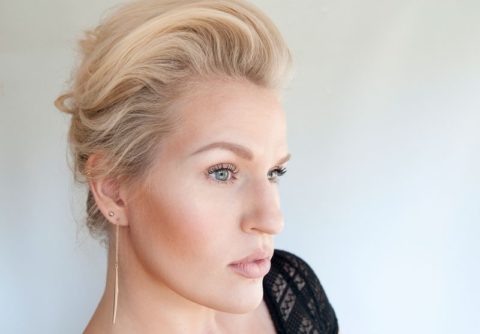
Clown contouring, henna contouring, baking, strobing, and tontouring. I think it’s safe to say that the art of contouring has gone to another level (or two) over the past year. As a professional makeup artist, I think of contouring not as something you do to stay on trend or to dramatically change your face…unless I’m working on a character on set for TV & film. For my everyday clients, and myself, I use it as a strategic tool that helps subtly enhance your own face shape. Playing with light and dark tones help certain features stand out which is perfect for special occasions or photo shoots, etc. I rarely think much about contouring on a day-to-day basis when doing my own makeup, but if I do it’s usually in the form of matte bronzer and highlighter or a simple highlight and contour powder compact.
For those times when I want to pump it up a bit, I use an easy duo stick. Basically you want to highlight areas you would like to stand out, and deepen areas to draw back. The most common places to do this are with your cheekbones, brow bone, nose, jawline, and collarbone. I find it especially beautiful to highlight above the bow of your lips, as well as along the top ledge of your nose. I use a dampened sponge, or the warmth from my fingers to blend the areas in. And I can’t say this enough, blend, blend, blend. Finish your makeup normally and you’ve got yourself some beautifully enhanced bone structure!
Products used: NYX Wonder Stick Highlight and Contour in Medium/Tan, MAC Cosmetics Sculpt and Shape Powder in Bone Beige Emphasize, MAC Mineralize Skinfinish in Give Me Sun, MAC Mineralize Skinfinish in Soft and Gentle.
Ellie Somfelean
Montreal | My Beauty Box
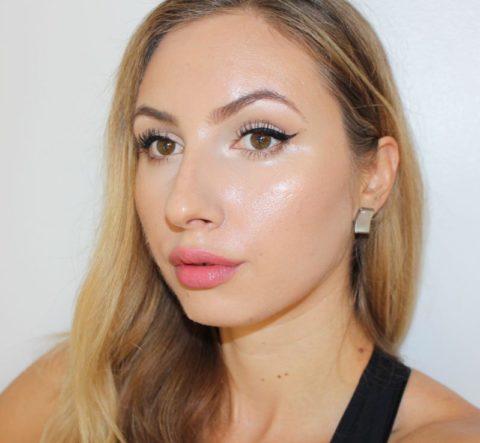
I love contouring. I honestly don’t feel complete without contouring my face. It just adds that little finishing touch and definition that in my opinion elevates any look and gives some depth to a face covered in make-up.
My current contouring routine includes mostly cream based products. I like to apply them under my cheekbones and bring it down towards the jaw for a more slimming effect right after finishing my foundation. The cream product blends in easily with the foundation creating a natural looking shadow and no unnatural, visible lines. On days when I want more sculpting I will take a bit of product on the perimeter of my face, under my jaw and shade the tip of my nose to shorten it. I tend to prefer a powder product for more subtle contours or around the nose area where I want the product to set rather than blend it in.
As a finishing touch I will use a highlighter to complement the contouring. Applying a highlighter to the high points of the face will bring out certain features, add luminosity and life to the skin. I love a strong alien-like highlight so I tend to be very generous with my application and I am currently digging the strong metallic shades. Strobing for the win!
Products used: Estee Lauder Shape+Sculpt Kit, Stila Stay All Day Face and Body Bronzer, Nars Dual Intensity Blush in Jubilation, Charlotte Tilbury Blush in Love Glow
Amy Surphlis
Oshawa | Amy’s Beauty Diary
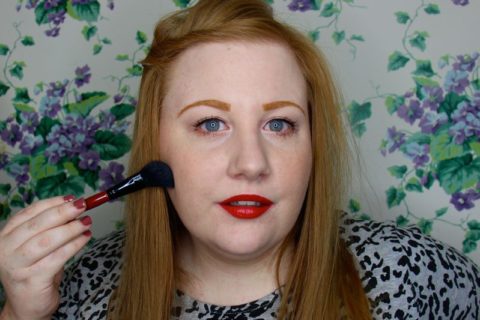
Contouring is the hottest makeup trend since baby blue eyeshadow. Okay, maybe not…but it is still huge. As a fair girl, the idea of putting dark colours all over my face is super scary. Everyone has to adjust trends to work for their face-shape, eye-shape, skin-tone and skill level. In this post, I am going to explain to you how I am able to create a contour that can be worn everyday (yes even to the office!). This technique is also perfect for the fair girls out there!
First you will need a few tools: Makeup Sponge, Cream Contour/Highlight (or a dark and light concealer), foundation that matches skin-tone + matching/setting powder, and a powder contour set. Check below for full details on my exact product choices and also on my blog for full swatches and before/after photos! You start with a primed face, and apply the cream contour into the hollow areas under the cheekbones. I prefer to make a triangle shape, with the base of the triangle being blended into my hairline. I line up the end point of the triangle with the corner of my eye. I also apply a bit of cream contour to the sides of my nose, under my jaw line. This is what works best for my face shape; of course you will need to adjust for your own. I apply the cream highlight to the tops of my cheeks, center of the nose, chin and middle of the forehead. Using your blending sponge, softly blend the edges of the contour and highlight. You still want to be able to see the dark lines, take the foundation of your skin colour and apply with the sponge in a dabbing motion. This will not only seal in your contour but will also ensure that it won’t look too harsh on a paler skin. I go over my contoured areas with my powder contour kit to add definition and also this ensure that my contour will last all day and still look natural.
I know this seems like a lot of steps, but I promise that with some practice you will be able to achieve this look! You can even just opt for cream under your foundation for an ultra natural look. Good luck, and happy contouring!
Products Used: QUO Blending Sponge, STILA Cosmetics Shape & Shade Customer Contour Duo in Light, Make Up Forever Ulta HD Foundation in Y205, Smashbox Cosmetics Halo Powder in Fair, Smashbox Contour Palette in Light-Medium, DIORSHOW Mascara Primer + Mascara, MAC Blush in Melba, Smashbox Cosmetics Eyeshadow Trio in Warm Wash, Stila Stay All Day Black Liquid Liner, Burberry Lip Velvet in Military Red, MAC Brow Gel in Redhead, Smashbox Cosmetics Brow Tech Highlight Stick in Gold Shimmer.

Kiran Paran
Edmonton | Northern Style Exposure
I love to highlight and contour as much as the next makeup junkie but maybe not as much as the Kardashians. I like my contour to look as natural as possible, highlighting my best features.
For this look I started with a smooth neutral base, I used Auspect’s Pigment Eze daily moisturizer and Make Up For Ever’s redness correcting primer. I like to get rid of any skin redness I may have from my allergies or irritation from season change. Next, I like to contour with an all in one sculpting pencil. I used the NUDESTIX in light and medium. I personally start with the lighter highlighting pencil on my nose, below/above my lip, cheekbones, forehead and under eyes. I then use the darker contouring colour below my cheekbones, sides of my nose, corners of my forehead and the sides of my chin. Finally, I bend with my BeautyBlender makeup sponge. Because I used a strong moisturizer and primer this step is easy. My skin looks defined without any lines or flakey skin.
I’m also a big brow fan, so I do contour and highlight them as well. Once I have penciled my brows in with the triangle end of the trestique pencil, I use the light side of the Billion Dollar Brow duo pencil on the lower line of my brow. Then I use the darker end of the pencil on the top. For me, I like a strong brow, great cheekbones and a slim nose. Those are my key points of interest when I’m getting my contour on fleek.
Products: Auspect’s Pigment Eze, Make Up For Ever’s redness correcting primer, NUDESTIX in light and medium, BeautyBlender makeup sponge, Billion Dollar Brow duo pencil and trestique define/sculpt/set brow pencil.

Jenn Fong
Vancouver | A Beautiful Zen
Contouring can be scary but if you follow the Estee Lauder Three Minute Beauty tip of feeling for the hollows of your cheekbones with your thumbs, you’ll be sure to have perfect placement each time. Well…maybe not each time. A good color and a good brush make a big difference. For me, a taupe grey works well and NYX Taupe blush has been a solid contouring shade.
For application, an angled fluffy brush is a must and I have the Bdellium 942 brush for that. You can pinch the brush hairs for that initial placement of color but always remember to blend and buff out. A streak of dark powder on your face is so noticeable from the side and very unnaturally looking. If you’re afraid, start with less color and build up.
Products used: NYX Taupe blush, Bdellium 942 Slanted Contour

